
Nail Arts Design - Nail art is a creative activity that draws pictures or designs fingernails. It a type of art. These days fingernails and toenails are seen by some as important points of beauty.

Nail Arts Design - Nail art seems to be catching on in fashion lately. I see hand and foot salon adding nail art to their list of services.

Nail Arts Design - I can understand why women love having their nails done and consequently, adding some art into it and not just plain colors.

Nail Arts Design - It is another way of expressing oneself and standing out of the crowd.

Nail Arts Design - We often consider our nails as just a simple part of our hands and feet. But with nail art becoming popular among the middle class, it's changing everyone's perspective and ordinary people are beginning to appreciate the artistic beauty of creative nail arts and I'm one of the people that appreciate and loves nail arts.

Nail Arts Design -

Nail Arts Design -

Nail Arts Design -

Nail Arts Design -

Nail Arts Design -
Post Title
→Cute and Simple Nail Art Designs
Post URL
→http://nailartsdesigns.blogspot.com/2011/08/cute-and-simple-nail-art-designs.html
Visit Nail Arts Design for Daily Updated Nail Arts Design


-3D+Nail+Art++Dark+Pink+White+Soft+Flower+from+Korea-$9.90(1packet+10pcs+)_picnik.jpg "Flower 3D Nail Art Designs 2")
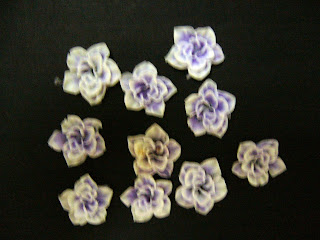-3D+Nail+Art++Purple+White+Soft+Flower+from+Korea-$9.90(1packet+10pcs+).jpg "Flower 3D Nail Art Designs 2")
-3D+Nail+Art+Purple+White+Soft+Flower+from+Korea-$9.90(1packet+10pcs+).JPG "Flower 3D Nail Art Designs 2")


